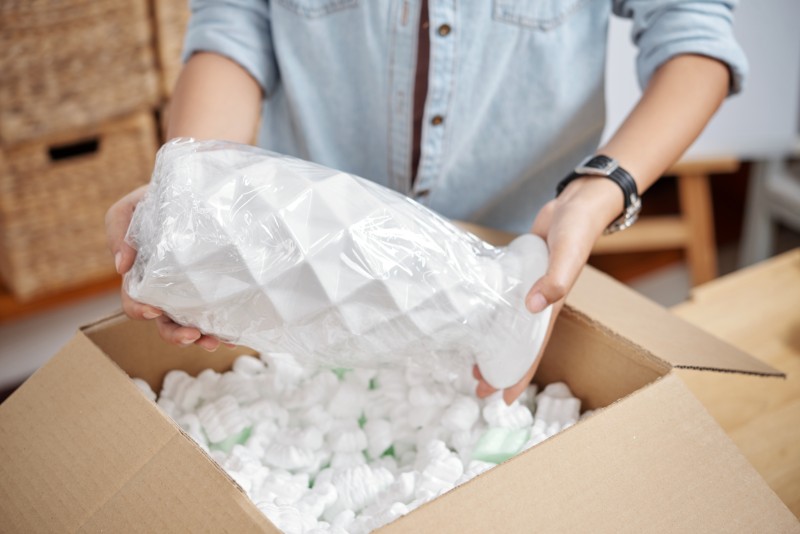
Moving is a feat that can seem intimidating, especially when it comes to delicate items such as vases. Packing your fragile valuables for the journey ahead can add stress and concerns about breakage or loss of an item. Fortunately, there are ways to ensure your vase makes it safe and sound with these few steps in packing vases for moving. Taking the time to correctly follow them will save you from costly replacements while ensuring that your favorite possession arrives unscathed! With that said, read on to learn how to pack vases for moving. Let’s begin.

Step #1: Gather the right materials and tools such as bubble wrap, packing paper, foam sheets, and packing tape
The first step in packing vases for moving is to make sure you have the right materials and tools. Bubble wrap will ensure any impacts or shock from the journey are absorbed, while packing paper can be used to keep dirt off your items during the move. Foam sheets will help add a layer of security and extra cushioning, while packing tape helps secure everything into place.
Step #2: Measure your Vase to find the right size box or wrap it in multiple layers of bubble wrap
Once have your supplies gathered, it’s time to measure your vase. This will help you determine the right size box or whether multiple layers of bubble wrap is necessary. If a box isn’t available, use several layers of bubble wrap along with packing paper to ensure that the vase is well protected during the move.
Step #3: Fill the bottom of the box with packing paper before putting the vase in
Once you have the correct box or multiple layers of bubble wrap, fill the bottom of the box with packing paper. This provides an extra layer of protection between your vase and any potential impacts along the way.
Step #4: Use foam sheets to secure the vase in place and provide extra cushioning
Foam sheets are great for providing extra cushioning in addition to securing the vase in place. Place a few foam sheets around your vase and then tape them securely into place. This helps provide an extra layer of protection against any impacts during the move.
Step #5: Cover the Vase with more packing paper and place it in a bigger box for extra security
Once the vase is secured in place with foam sheets, cover it with more packing paper and then put it in a larger box. This provides an extra layer of protection against bumps or impacts during the move.
Step #6: Seal up all openings with packing tape and label each box clearly with its contents
The last step in packing vases for moving is to make sure all openings are securely sealed with packing tape. This helps ensure that the contents of each box stay safe and secure during the move. Lastly, label each box clearly with its contents – this will make it easier for you to find what you need when you get to your new home. With these steps, you can be sure that your precious vase will make it safely to its new home. Happy moving!
Conclusion – How to Pack Vases for Moving
In conclusion, when it comes to how to pack vases for moving, it is important to realize that the process requires careful consideration and preparation. It’s important to gather the right materials and tools, measure your vase, fill the bottom of the box with packing paper, use foam sheets to secure the vase in place, cover it with more packing paper, then seal up all openings with packing tape and label each box clearly with its contents. By following these steps, you can rest assured that your precious vase will make it safely to its new home. If you want to know how to tape boxes for moving, check out blog page now!

