Skip to content

TL;DR:
- A structured packing workflow divides the move into phases, reducing stress and protecting belongings. It involves planning, decluttering, room-by-room packing, and labeling with clear markers for easier unpacking. Using proper supplies and a phased timeline ensures efficiency, safety, and a smoother transition to the new home.
A packing workflow for relocation is a structured, phased system that organises your belongings into manageable stages so nothing gets lost, damaged, or forgotten on moving day. Most people treat packing as a single frantic event rather than a planned process, and that is where things go wrong. A proper workflow breaks your move into three distinct phases: planning and decluttering, systematic room-by-room packing, and final-day essentials handling. When you follow a moving packing checklist built around these phases, you protect your belongings, reduce last-minute stress, and give your movers a much easier job to do.
What tools and materials do you need to start packing?
The right supplies are the foundation of any efficient packing strategy. Arriving at moving day without enough boxes or the correct tape is one of the most common and avoidable setbacks families face.
Here is what you need before you pack a single item:
- Boxes in multiple sizes: small boxes for books and heavy items, medium for kitchenware, large for linens and pillows
- Packing tape and a tape gun: paper packing tape is preferred for sealing strength
- Permanent markers and coloured labels: one colour per room speeds up unpacking significantly
- Bubble wrap, packing paper, and foam sheets: for dishes, glassware, and electronics
- Stretch wrap: for protecting furniture surfaces and bundling loose items
- Mattress bags and wardrobe boxes: for protecting bedding and hanging clothes
| Supply | Best use | Notes |
|---|---|---|
| Small boxes (1.5 cu ft) | Books, tools, canned goods | Keep under 20 kg to avoid injury |
| Medium boxes (3 cu ft) | Kitchenware, toys, small appliances | Most versatile size for general packing |
| Large boxes (4.5 cu ft) | Pillows, linens, light décor | Never overload; keep light items only |
| Paper packing tape | Sealing all box seams | Stronger bond than plastic tape |
| Coloured label stickers | Room identification system | Assign one colour per room |
Planning tools matter just as much as physical supplies. The Military OneSource Plan My Move tool provides editable timelines and checklists that distribute packing responsibilities across family members, which prevents tasks from falling through the cracks. A shared digital checklist or even a printed room-by-room list keeps everyone on the same page.
Before you buy a single box, do a declutter pass. Step one is deciding what is actually worth packing, particularly for long-distance moves where shipping costs can exceed replacement value. Donate, sell, or discard anything you have not used in over a year.
Pro Tip: Order 10 to 15 per cent more boxes than you think you need. Running out mid-pack forces you to stop, source more supplies, and lose momentum at the worst possible time.
How do you build a phased packing timeline for relocation?
A phased packing timeline follows a 30-60-90 day model that sequences your packing from least-used to most-used spaces, so your home stays functional right up until moving day. This approach eliminates the Sunday-night panic of packing everything at once.
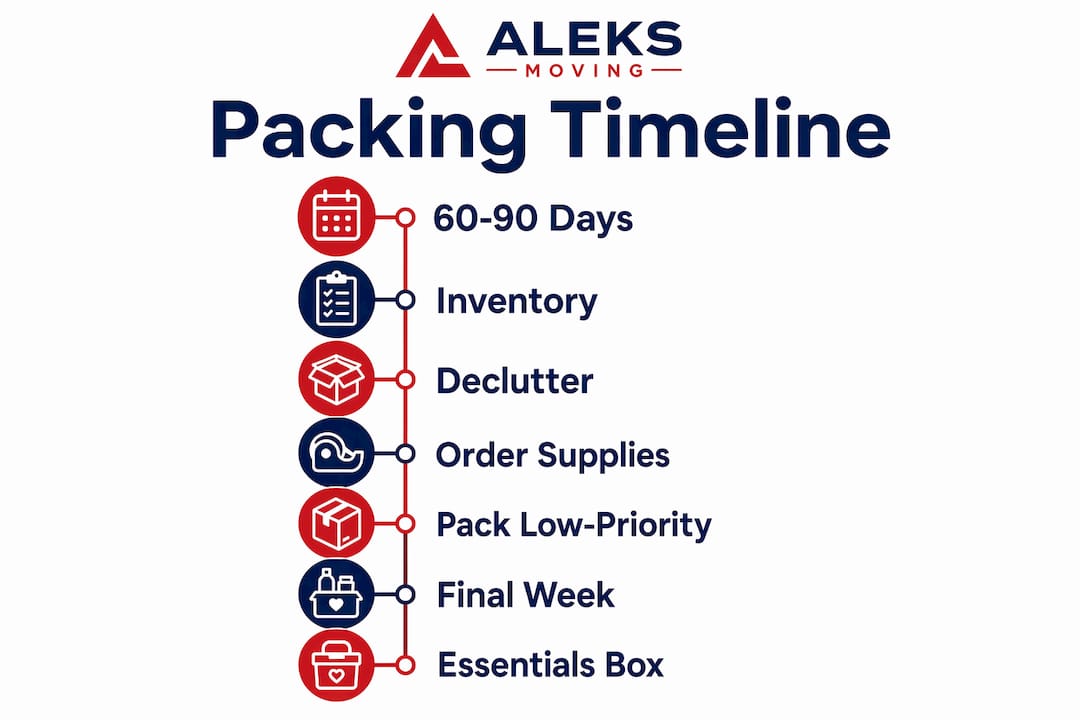
Here is how to structure your packing timeline:
- 60 to 90 days out: Declutter every room. Donate or sell unwanted items. Order packing supplies. Create your room-by-room inventory and assign a colour label to each room.
- 30 to 60 days out: Pack low-priority rooms first. Guest bedrooms, storage areas, hobby rooms, and seasonal items are ideal starting points. These spaces are rarely accessed and cause no disruption when boxed up early.
- Two to three weeks out: Move to medium-priority rooms. Living rooms, dining rooms, and home offices can be partially packed while keeping one functional workspace available.
- One week out: Pack bedrooms down to essentials. Leave out only what you need for sleeping, bathing, and daily routines.
- Final 48 hours: Pack the kitchen last, keeping one set of dishes and basic cookware until the morning of the move. Assemble your essentials box (covered in the next section).
Starting with storage areas and finishing with daily essentials keeps your home liveable and your stress levels manageable throughout the process. Structured, room-by-room packing also reduces decision fatigue, because you are not constantly choosing between what to pack and what to leave out.
| Timeline | Focus area | Key activities |
|---|---|---|
| 60 to 90 days out | Whole home | Declutter, inventory, order supplies |
| 30 to 60 days out | Guest rooms, storage, seasonal items | Pack low-priority boxes, label clearly |
| 2 to 3 weeks out | Living room, dining room, office | Pack non-essentials, keep one workspace |
| 1 week out | Bedrooms | Pack down to daily essentials only |
| Final 48 hours | Kitchen, bathroom, essentials box | Pack last-use items, prepare first-night box |
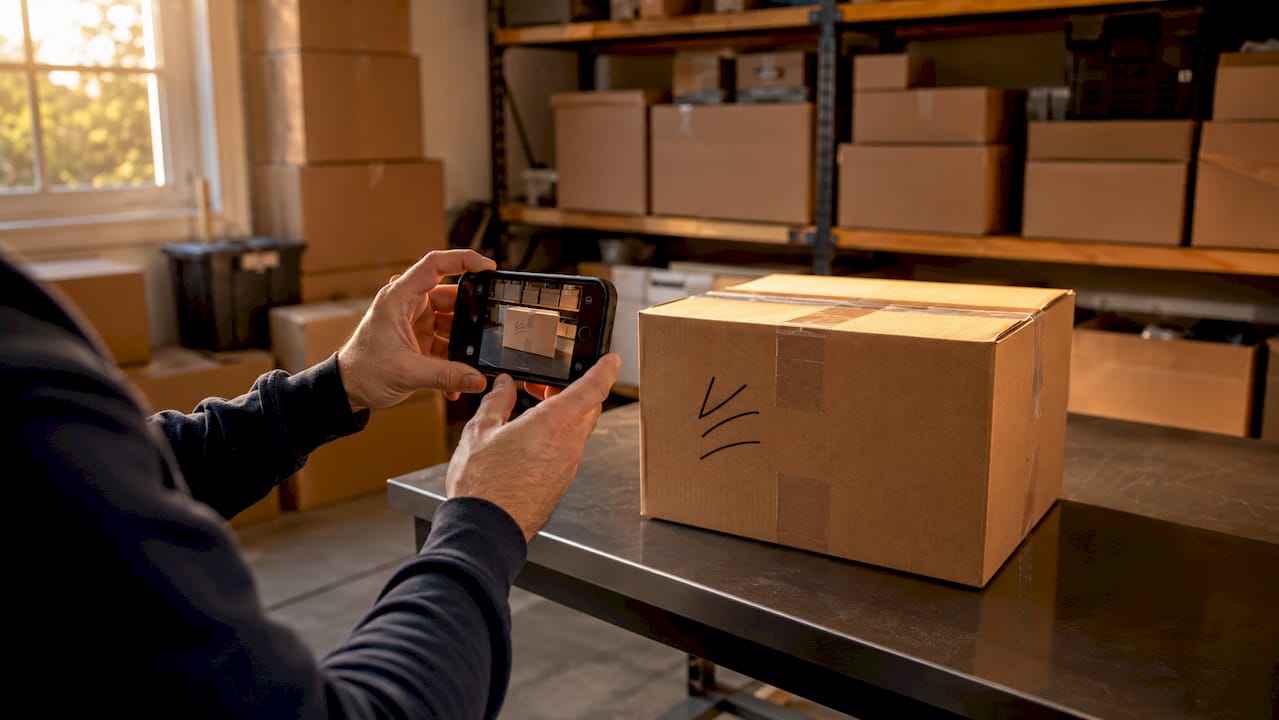
Pro Tip: Photograph the contents of each box before sealing it. Store the photos in a shared album on your phone. If a box goes missing or is mislabelled, you will know exactly what is inside without opening everything.
How to label, pack, and seal boxes for maximum efficiency
Labelling and sealing are not afterthoughts in a solid packing workflow. They are integral steps that determine how safely your belongings arrive and how quickly you can unpack at the other end.
Label every box on at least three sides: the top and two adjacent faces. This matters because boxes get stacked and rotated during transport, and a label on only one side will face the wall half the time. Use the following system on every box:
- Room name and colour: matches your label colour system
- Contents summary: three to five words describing what is inside (e.g., “master bedroom, winter bedding”)
- Priority marker: “Open First,” “Fragile,” or “Heavy” as applicable
- Handling instructions: “This Side Up” for electronics and artwork
When it comes to packing the boxes themselves, packing like-with-like and separating fragile from non-fragile items is the fastest way to stay organised and protect your belongings. Place heavier items at the bottom of each box and lighter items on top. Fill any empty space with crumpled packing paper to prevent shifting during transit.
For sealing, use the H-tape method: run one strip of tape along the centre seam, then two strips across the ends horizontally, forming an “H” shape. This reinforces the box against the stress points that cause failures during loading and unloading.
| Packing approach | Best for | Avoid |
|---|---|---|
| Like-with-like grouping | Faster unpacking, logical organisation | Mixing rooms in one box |
| Heavy items on bottom | Structural box integrity | Stacking fragile on heavy |
| H-tape sealing method | All boxes, especially heavy ones | Single-strip tape on loaded boxes |
| Labels on three sides | Visibility during stacking | Labels on top only |
Common packing mistakes to avoid:
- Overfilling boxes until they bulge at the seams
- Using newspaper directly on dishes (ink transfers and stains)
- Leaving empty space in boxes without filling with paper
- Forgetting to label boxes packed in a rush at the end
- Loading your essentials box onto the moving truck
Pro Tip: Use a different coloured tape for fragile boxes. When movers can spot a fragile box from across the room, it gets handled with more care without anyone needing to say a word.
How to prepare your first-night essentials box
Your essentials box is the single most important box you will pack. It contains everything you need to function for the first 24 hours in your new home, and it travels with you in your car, not on the moving truck.
Follow these steps to pack it correctly:
- Choose a clearly marked, medium-sized box or duffel bag that you can easily carry and identify at a glance.
- Pack toiletries and hygiene items: toothbrushes, toothpaste, soap, shampoo, toilet paper, and a towel for each person.
- Add medications and first aid: any prescription medications, pain relievers, and a basic first aid kit.
- Include basic kitchen items: a kettle, two mugs, instant coffee or tea, a can opener, and one set of cutlery per person.
- Pack electronics and documents: phone chargers, a portable power bank, your identification, lease or purchase documents, and insurance papers.
- Add comfort items: a change of clothes for each family member, pyjamas, and a small toy or comfort item for young children.
- Include snacks and water: granola bars, fruit, and a filled water bottle for each person.
Essentials boxes are pre-packed operational items needed for sleep, hygiene, cooking basics, and medications. They should always travel with you, not the moving truck, because truck contents are not always accessible immediately upon arrival.
Pro Tip: Pack your essentials box last and load it into your personal vehicle first. Write “DO NOT LOAD” in large letters on every side so no well-meaning mover accidentally puts it on the truck.
Common challenges and how to keep your packing on track
Even the best packing plans for moving hit unexpected obstacles. Knowing how to handle them in advance keeps your workflow moving forward rather than stalling.
- Last-minute packing pressure: If your timeline compresses, focus on completing one room fully before starting the next. Partial packing across multiple rooms creates chaos and lost items.
- Fragile or specialty items: Wrap each piece individually in bubble wrap or foam. For artwork and mirrors, use purpose-built picture boxes and mark them clearly. For long-distance moves, review the packing guide for long-distance moves for additional protection strategies.
- Mislabelled or lost boxes: A home moving inventory with box numbers and contents descriptions solves this. Number each box and keep a master list.
- Dividing packing responsibilities: Assign each family member ownership of their own room. Children aged eight and older can pack their own books and toys with supervision, which also gives them a sense of control during a stressful transition.
- Unexpected delays: If your moving date shifts, prioritise repacking the essentials box and keeping daily-use rooms accessible. Delay packing the kitchen and bathroom until the new date is confirmed.
Pro Tip: Set a daily packing goal of five to ten boxes rather than trying to pack an entire floor in one day. Consistent daily progress is far less exhausting and produces better results than weekend packing marathons.
Key takeaways
A structured packing workflow for relocation, built around a phased timeline and clear labelling, is the most reliable way to protect your belongings and arrive at your new home without chaos.
| Point | Details |
|---|---|
| Start with a phased timeline | Follow the 30-60-90 day model, packing low-priority rooms first and daily essentials last. |
| Gather supplies before you start | Stock boxes in three sizes, paper tape, coloured labels, and protective wrapping before packing begins. |
| Label boxes on three sides | Include room name, contents, and priority markers on the top and two adjacent faces of every box. |
| Seal with the H-tape method | Reinforce all box seams with horizontal and vertical tape strips to prevent failure during transit. |
| Pack your essentials box last | Keep toiletries, medications, chargers, and documents in a separate box that travels in your car. |
What I have learned from years of watching moves go right and wrong
After working with hundreds of families across Ontario, the pattern is clear: the moves that go smoothly are not the ones with the most boxes or the biggest trucks. They are the ones where someone sat down two months before moving day and made a plan.
The phased approach genuinely changes the experience. When you pack the guest room in week one, you get a small win. That win builds momentum. By the time you reach the kitchen, the hardest work is already done and you are packing with confidence rather than panic.
The detail that surprises most people is how much labelling matters after the move, not during it. On moving day, you are focused on getting everything out. Three days later, when you cannot find your child’s school shoes or your coffee maker, you will wish every box had a contents summary on three sides.
One thing I would push back on: do not try to build the perfect system before you start. A simple colour-coded label and a numbered box list beats an elaborate spreadsheet you abandon by day three. Tailor the workflow to how your family actually operates, and you will stick with it.
The moving day timeline matters too. Knowing what happens hour by hour on the day itself reduces the feeling that everything is out of your control.
— Ali
Let Aleksmoving handle the heavy lifting
Planning your packing workflow is a great start, and having the right team behind you makes all the difference on moving day.
Aleksmoving has over 18 years of experience supporting residential relocations across Ontario and beyond. Whether you need full professional moving services or just want a trusted team to handle the logistics while you focus on your family, we offer flat-rate pricing with no hidden fees and a free upfront quote. Our team can assist with packing, storage, and tailored moving plans that fit your timeline and budget. Reach out today to get started.
FAQ
What is a packing workflow for relocation?
A packing workflow for relocation is a structured, phased plan that organises your packing tasks by room priority and timeline, from decluttering 60 to 90 days out to packing daily essentials in the final 48 hours.
How far in advance should I start packing for a move?
Start decluttering and ordering supplies 60 to 90 days before your move date. Begin packing low-priority rooms such as guest bedrooms and storage areas 30 to 60 days out, following a phased timeline.
What should go in a first-night essentials box?
Your essentials box should contain toiletries, medications, phone chargers, a change of clothes, basic kitchen items, important documents, and snacks. This box travels in your personal vehicle, not on the moving truck.
What is the best way to label moving boxes?
Label each box on at least three sides with the room name, a brief contents description, and any handling instructions such as “Fragile” or “Open First.” Use a different coloured label for each room to speed up unpacking.
How do I seal boxes so they do not fail during the move?
Use the H-tape method: apply one strip of paper packing tape along the centre seam and two strips horizontally across each end. This reinforces the stress points most likely to fail during loading and transport.